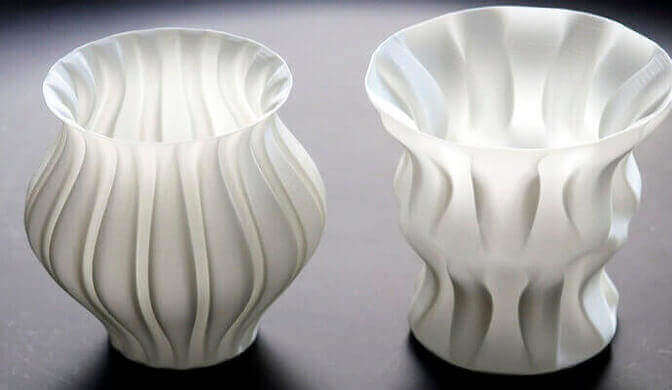
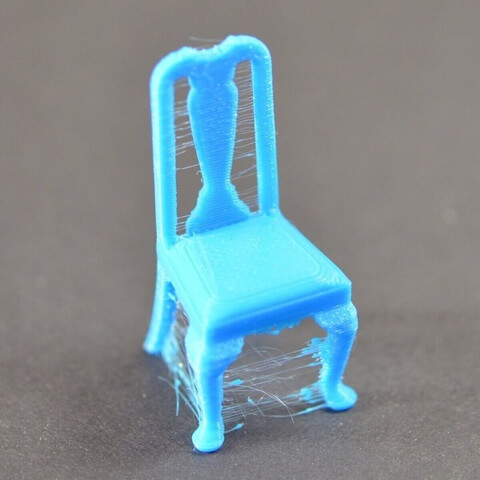
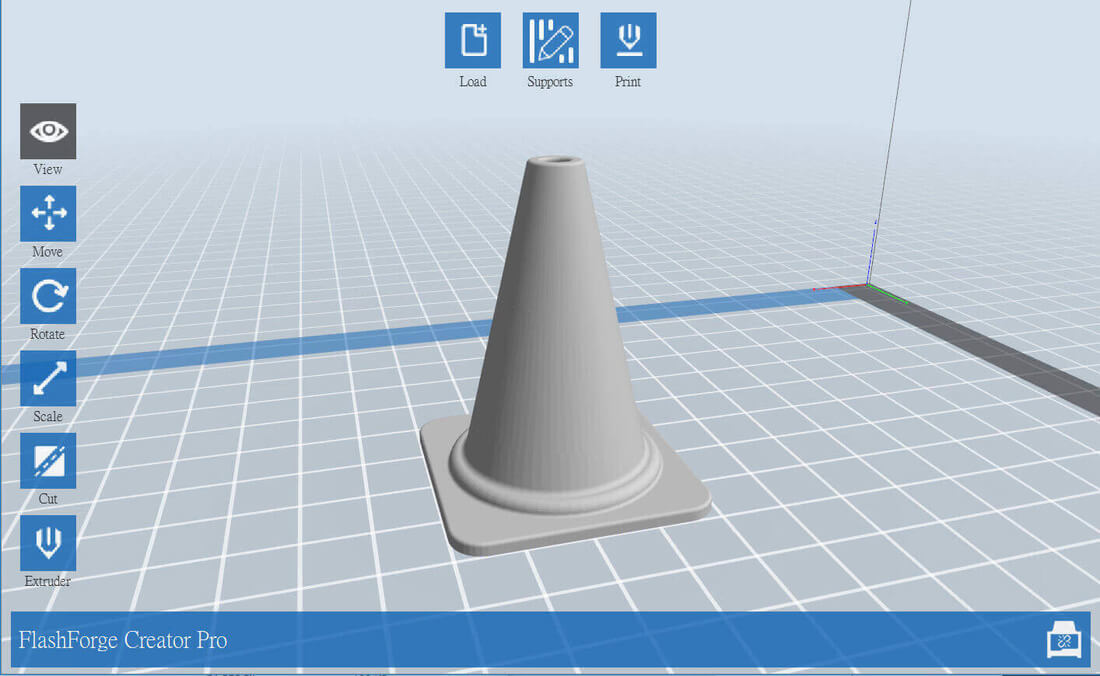
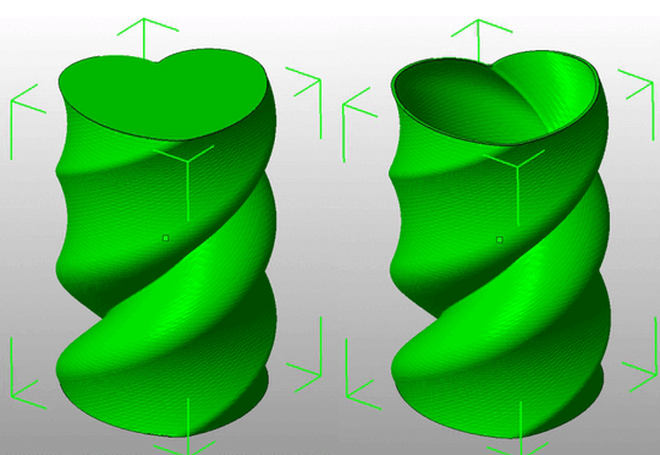
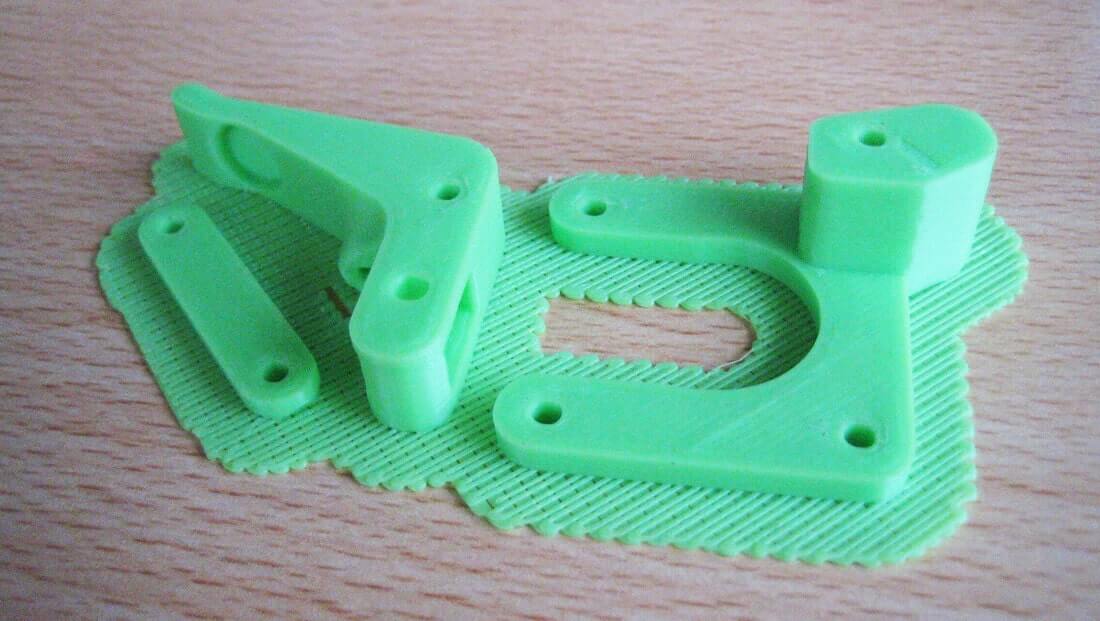
Eng | 中
FLASHFORGE
  • Home
  • Products
    • Adventurer 3
    • Adventurer 4
    • Creator Pro 2
    • Creator 3 Pro
    • Creator 4
    • Guider IIs
    • Guider 3
    • Guider 3 Plus
    • Foto 9.25
    • Foto 13.3
    • Hunter
    • WaxJet 400
  • Materials
  • Support
  • Blog
  • Contact Us
  • Home
  • Products
    • Adventurer 3
    • Adventurer 4
    • Creator Pro 2
    • Creator 3 Pro
    • Creator 4
    • Guider IIs
    • Guider 3
    • Guider 3 Plus
    • Foto 9.25
    • Foto 13.3
    • Hunter
    • WaxJet 400
  • Materials
  • Support
  • Blog
  • Contact Us

What is retraction in a 3D slicing software ?

27/10/2016

 
Picture
image source: yeggi
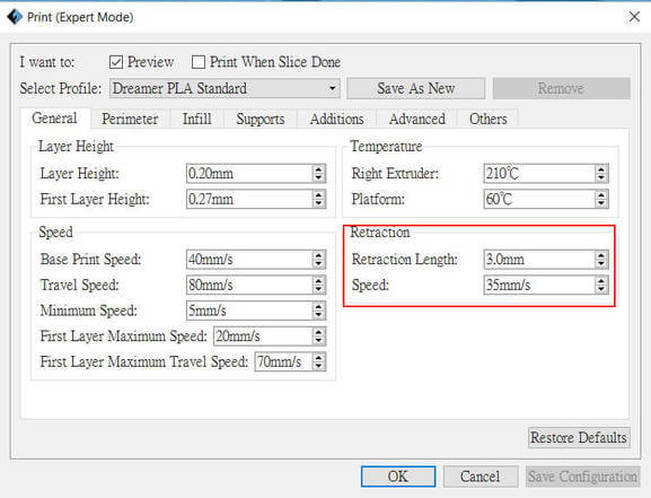
There is a function called "Retraction" in the 3D slicing software. This function is used to minimize the oozing problem during printing especially dual 3D printing .
The oozing issues during dual 3D printing is caused by the fact that when one nozzle is printing the 3D model, another nozzle, which has already been heated, will be in stand-by status. During standing-by, the printing material is melted and inevitably coming out from the nozzle, which leads to oozing. We can use  the "Retraction" to control the speed and movement of gears of the extruder motor to pull the filament back into the nozzle to minimize the oozing.
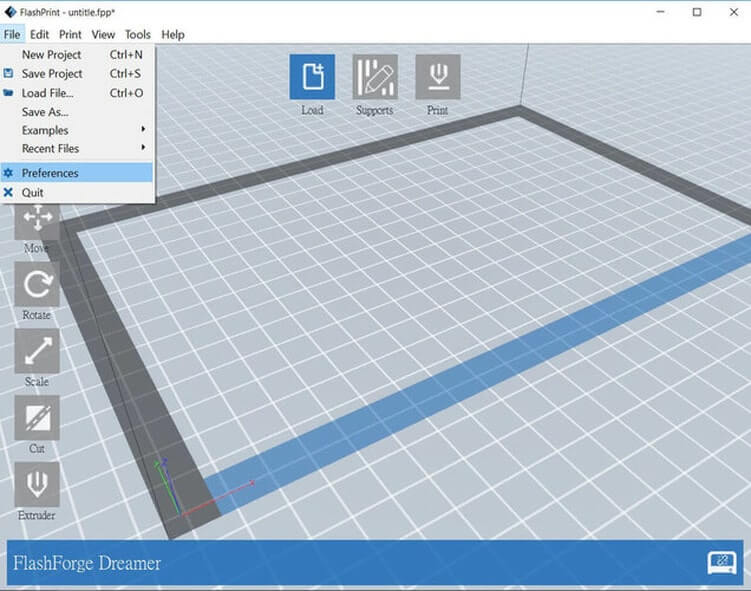
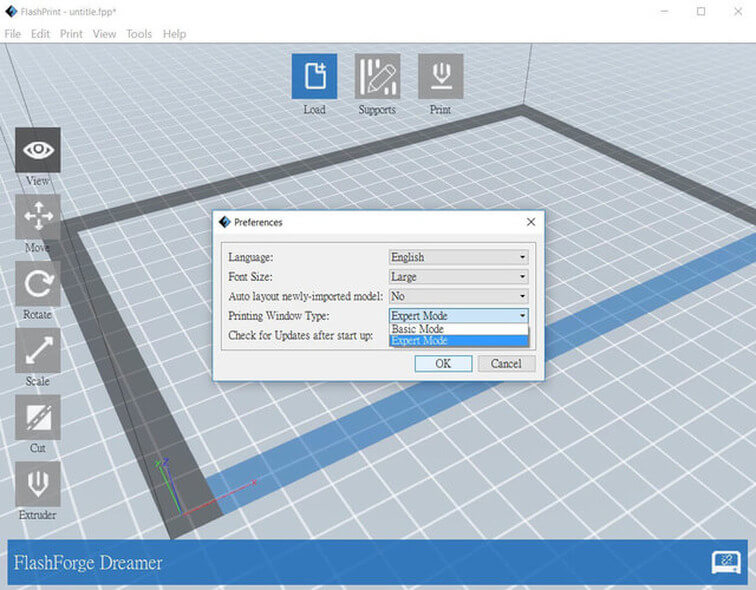
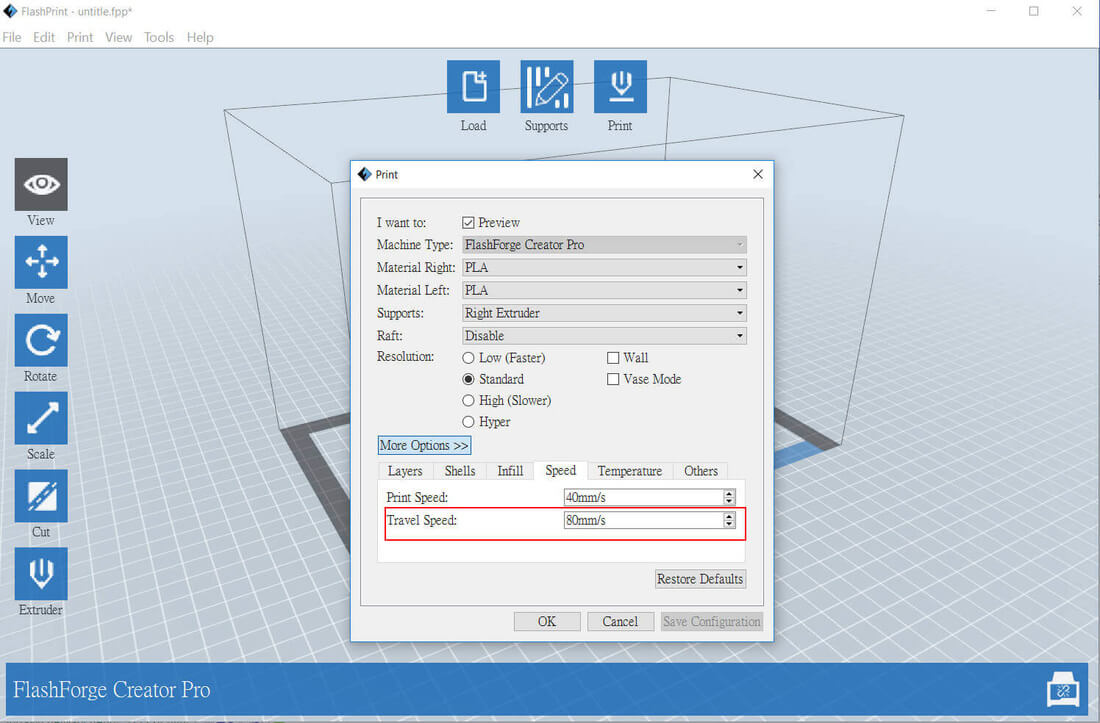
There is a Retraction function in the Flashforge's 3D slicing software Flashprint. Retraction belongs to be a expert mode. Within the Retraction function, there are Retraction Length and Retraction Speed. Retraction length is to control how long the filament will be pulled back into the nozzles, while Retraction speed is to control how fast the filament will be pulled back.
What is retraction in a 3d slicing software ?
Picture

Other Article:
Picture


​What is the support function in the 3D slicing software

Layer View Function in a 3D Slicing software – Good for examining a  3D model 

22/10/2016

 
Picture
After finished the print setting in the 3D slicing software, people would generally want to know in advance how the printout will look like, and the function "Layer View" can meet the need to some extent.
Layer View mode actually allows people to examine the model layer by layer in the 3D slicing software.
If the model itself has a problem , under the layer view mode,  the user may be able to see some blank area on the 3D model, which means the 3D model has a problem, leading to be unable to do 3D slicing. In this case you need to amend the 3D model in the 3D modeling software.
The following shows how to use the Layer View mode in the Flashforege' s 3D slicing software Flashprint:
Picture
Picture
Other article:
Picture


​
​How to set the number of shells in the 3D printing software

Advantage of  “Cut” function in the 3D slicing software

20/10/2016

 
Picture

​In some 3d slicing software there is a function for cutting the 3d model. Today we are going to talk about what is the advantage of using this “Cut” ​ function. 
​For those who are using 3D printer may have a situation that sometimes the 3D model could be printed for more 10 hours. If there are printing failure occurred for those 3D models, it will be a waste of time and materials. For example, after 12 hours of printing, you just find that the printing fails due to the lack of the top solid layers and the failed printout cannot be used because of lacking top solid layers.
Therefore, the advantage of the “Cut” function is that if you are not sure if you can print particular part of the 3D model well, you can use the cutting function to cut that particular part and just test print that part to see the result, which can help you to save a lot of time by quickly diagnosing if your printing settings is suitable to print that particular part.  
​There is a “Cut” function in the Flashforge’s 3D slicing software Flashprint. The using method is as follow:
Advantage of  “Cut” function in the 3D slicing software – Flashforge Flashprint
Other Articles:
Picture


​
​What is the vase mode function in the 3D slicing software

What is First Layer Height in the 3D slicing software?

15/10/2016

 
Picture
Last time we talked about what is the Layer Height, today we are going to talk about another important setting in the 3d slicing software - First Layer Height.
First Layer Height refers to the first layer of the 3d model that is printed on the heated bed. In general, the value of the first Layer Height is bigger than that of the Layer Height. When printing starts, 3d printer will use the first layer height value to print the first layer of a model and then use the Layer Height value to print the remaining layers.
The reason why the value of first layer height is bigger than that of Layer Height is because we want the first layer to attach on the build plate more firmly. For example, if the Layer height is set to be 0.2mm, then the first layer height should be 0.25mm or even a little bit bigger. If the first layer height is too small, the first layer may not be able to attach on the print bed firmly and slip away.
You can follow the below screen shot to set the first layer height in the Flashforge's 3d slicing software Flashprint:
Picture
Other Article:
Picture


3D Print Speed Setting and Its influence

What is Travel Speed in the 3D Slicing Software

13/10/2016

 
What is Travel Speed in the 3D Slicing Software - flashprint
​Previously we introduced what is print speed and it's function. Today we are going to talk about another speed called travel speed.
​Travel speed is  a moving speed of the print head during non-printing status, which means the print head moves without squeezing the printing  material out from the nozzle.
If travel speed is too slow, it may lead to stringing issue found on the printout. In general, we can set the travel speed at 80mm/s, and if stringing problem is found, we can set the travel speed higher.
Picture
Image credit: simplify3d.com
​If you want to set the travel speed in the Flashforge's 3d printing software Flashprint, you can follow the below screenshots:
Picture

​Other articles:
Picture

​3D Print Speed Setting and Its influence

How to set dual color print in the 3D slicing software

8/10/2016

 
3D printing settings of dual color 3D print is different from that of single color print. Today we are going to talk about how to set dual color 3D print.
To set the dual color print, we need to first separate the 3D model into 2 parts. For example, the cone shown below is formed by 2 parts.
How to set dual color print in the 3D slicing software
One part of the cone
How to set dual color print in the 3D slicing software
Another part of the cone
How to set dual color print in the 3D slicing software
When 2 part are combined together, the cone will be formed
To have dual color print, you need to assign which nozzle(left or right) to be used to print a particular part of the cone.
How to set dual color print in the 3D slicing software Flashprint
Assign which nozzle to be used to print a particular part of the 3D model.
How to set dual color print in the 3D slicing software Flashforge Flashprint
After assigning the nozzles, you can start setting the left and right nozzle temperature respectively. If the printing materials for both left and right nozzles are the same such as PLA, you need to set both nozzles as the same temperature. Also, "wall" function should be activated when doing dual color 3D print. The wall normally can improve the dual color printing quality.
Other Article
Picture


​What is the vase mode function in the 3D slicing software

The difference between tree support and linear support in 3d printing settings

6/10/2016

 
Last time we introduced the function of Support in the 3d slicing software. Today we are going to talk about the functions of 2 types of Supports - Tree support and Linear support.
Tree support is like a tree branch which supports the overhang of the 3d model. So when should we choose tree support rather than linear support? If the overhanging surface is not flat such as nose tip, fingertip or arch, then tree support is more suitable to use. The advantage of using tree support is that it can be removed much easier then linear support. Also, tree support leave less remarks on the 3d model surface than linear support.
FLASHFORGE Tree Support
Tree Support
As for linear support, it is more suitable for a flat overhanging surface. This is because tree support can only support particular point of overhanging surface of he 3d model.
FLASHFORGE Linear Support
Linear Support

Next time when you do 3D printing, you can try too analyse the 3D model first before choosing the suitable type of support.

Other Article

Picture


What is the support function in the 3D slicing software

What is the support function in the 3D slicing software

1/10/2016

 
The function "Support" is one of the most important setting in the 3D Slicing Software. After activating this function, the overhang of the 3D model will be supported by the printing material. Today we are going to talk about this function.
Generally speaking, if the overhanging surfaces of the 3D model is more than  45 degrees, those surfaces will need to be supported by the printing material and so we need to activate the Support function.
Picture
image credit: innovationstation.utexas.edu
To activate the Support function in the Flashforge's Flashprint, you first need to click the "support" button and then choose the type of support. There are 2 types of supports, one is called Tree Support and another one is called Linear Support. After choosing one of them, click "Auto Supports", then the 3D slicing software Flashprint will automatically generate support under the overahang of the 3D model. ​
Picture
Click the button "supports" (3D model by CosmoWenman)
Picture
Click "Supports Options" to choose the Support style
Picture
Linear Support
Picture
Tree Support
As for when we should use tree support or linear support, we will talk about the in the next time.
Other Article
Picture


​3D Print Speed Setting and Its influence

What is the vase mode function in the 3D slicing software

29/9/2016

 
Picture
image credit:thingiverse.com
In some of the 3D slicing softwares, you will find there is a function called Vase Mode. This function is useful when you want to make a container quickly. Today we are going to talk about this function.
Vase mode function is to transform your solid 3D model into a container. When you activate the Vase Mode function, the top solid layers and the infill of the 3D model will not be printed out, which means the solid 3D model will become a container as shown below:
Picture
image credit: slic3r.org
Let's have a look how the Vase mode setting will affect the 3D model after activating this setting  in the Flashforge's Flashprint
Picture
Without activating the vase mode function, the top layers of the 3D model will be printed out.
Picture
Without activating the vase mode function, the infill of the 3D model will also be printed out.
Picture
Vase mode in the menu in the Flashprint
Picture
After activating the vase mode function, the top layers and the infill of the cube will not be printed out, and the cube will become a container.
Other article
Picture


​What is the layer height in the 3D printing software

What is raft in the 3D slicing software?

23/9/2016

 
Picture
image credit:wiki.cac.washington.edu

​Raft is a very useful setting when you encounter 3D model warping problem. 
Today we are going to talk about the raft setting in the 3D slicing software.
Raft actually is the horizontal grid of filament that is located under the bottom of the 3D models as shown in the above pictures. The purpose of adding a raft is to ensure that the printed model can attach to the print bed more firmly to prevent the warping issues. Also, raft is useful if the bottom part of the 3D model is small because raft can increase the contact surface between the model and the print bed, which means can let the model stick on the print bed better.  ​
If your 3D printer is a dual nozzle 3D printer, you can choose either left nozzle or right nozzle to print the raft in the Flashforge's 3D slicing software Flashprint as shown below:
Picture
Picture
What is raft in the 3D slicing software
Other Article:
Picture


​
​What is the function of the 3d printer heat bed?  
​
<<Previous
Forward>>

    Blog

    Archives

    June 2022
    November 2016
    October 2016
    September 2016
    February 2016
    October 2015
    August 2015
    June 2015

    Categories

    All
    3D Slicing Software Settings

    RSS Feed

Products


Adventurer 3
​Adventurer 4
Creator Pro 2
​Creator 3
Creator 3 Pro
Creator 4​
Guider IIs
Guider3
​Guider 3 Plus
Foto 8.9
Foto 13.3
Hunter

​WaxJet 400

Support

Warranties
Course Booking

Flashforge

Contact Us
​Blog

English  中
 © COPYRIGHT 2022. ALL RIGHTS RESERVED.